Street Rodder Road Tour–Body Mods
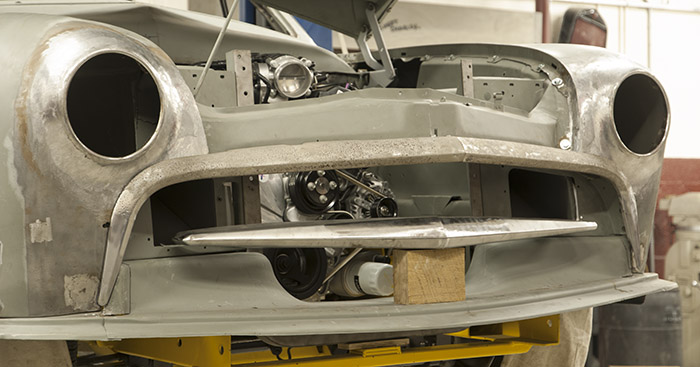
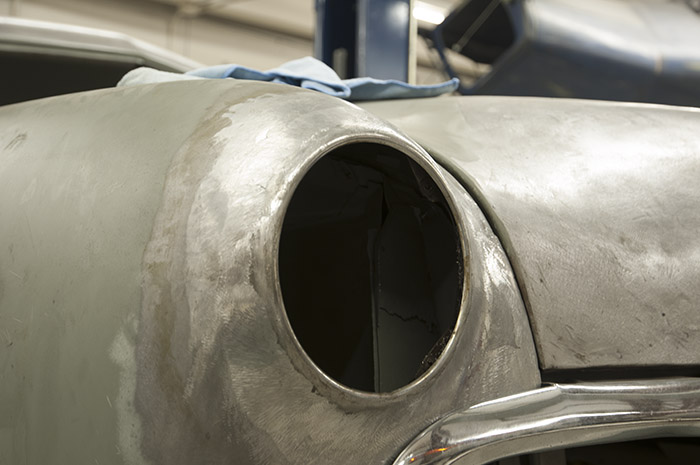
We’re plugging along on the Street Rodder Road Tour project with a few more modifications. This time, we’re working on the front end to smooth out some of the lines and give the car a custom look. The idea is to give the headlights and grille the traditional custom look, by molding in the headlight rings, and fabricating a custom grille and grille surround. Check it out!
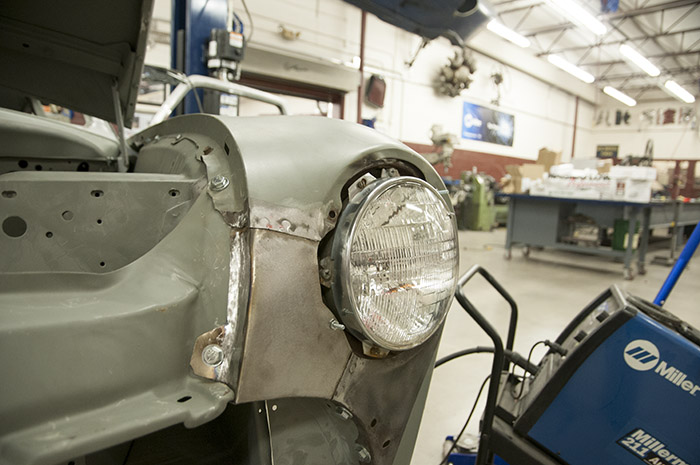
Here’s how we started…we installed a stock headlight in the stock bucket. Originally, a stainless steel trim ring would bolt into place.
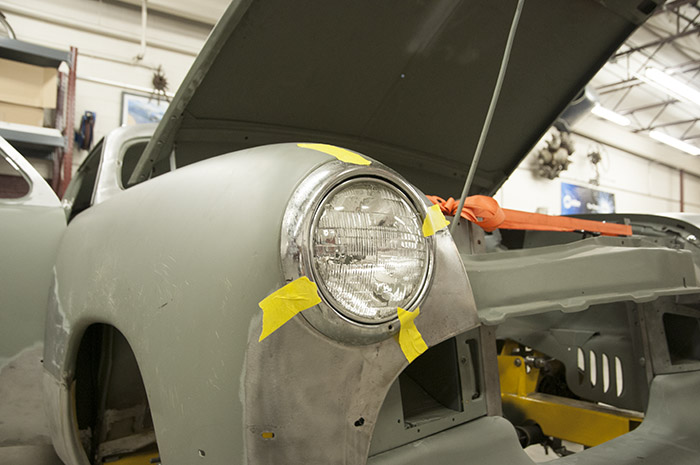
We taped a set of rings into place and prepped them for welding. We will weld the rings to the fenders, and then use lead filler to mold the transition. The headlight will install from the backside.
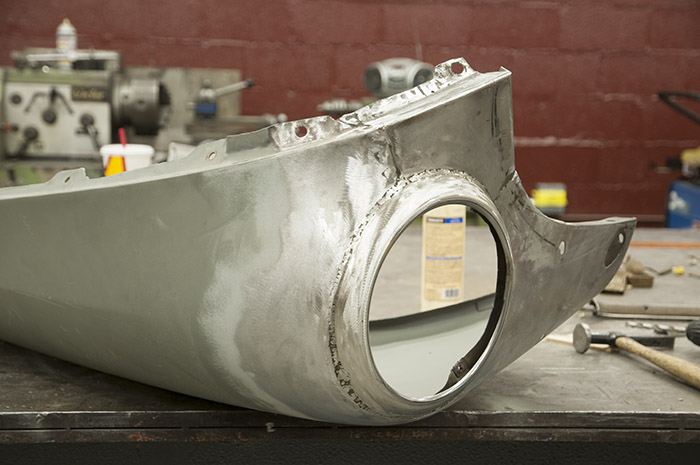
After welding the ring into place, we used a grinder to flatten out the welds, in preparation for the lead filler.
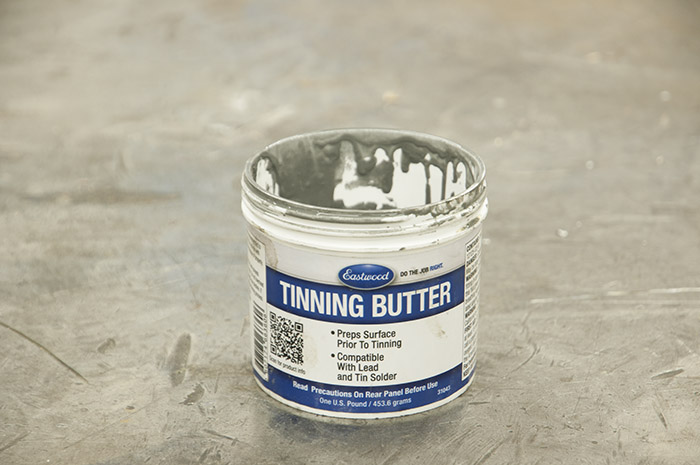
We used Eastwood lead products, and went through the routine steps for ideal results. It all starts with this tinning butter, which is heated with a torch. It helps clean the metal.

The Eastwood Tinning Butter is applied with a small brush and then heated with a torch. This provides a great bonding surface for the lead filler rod.
