Street Rodder Road Tour–New Metal
So, if you’ve been following along, you know that we’re up to our ears in rust with this ’51 Ford. Luckily, Dennis Carpenter offers replacement panels, but we’ll still have to fill some gaps with hand-fabricated patch panels. The first step in making this shoebox Ford solid is installing new floor pans and rocker panels.
The new pans and rocker panels give the body a lot more rigidity, but we have plenty of bracing inside the body to keep it from flexing while all of the sheet metal is gutted out. The new panels fit well, but required a great deal of finesse to get them perfect. We used a Millermatic 211 Auto-Set MIG welder for the floor pans and rockers, and it worked out great, even with the somewhat crusty steel left behind on our ’51 Ford project. After lots of careful measuring and massaging, we tack-welded the panels and then finished the welding chores with the MIG. We left a few areas tacked, because we have plans to do a couple modifications to the body mounts, as well as a custom transmission tunnel. We’ll cover that stuff next time. For now, let’s take a look at some new sheet metal!

Miller is a sponsor of the Street Rodder Road Tour, and sent us a bunch of brand new equipment, including MIG welders, a TIG machine and a Plasma Cutter! We’ll definitely put this stuff to use!

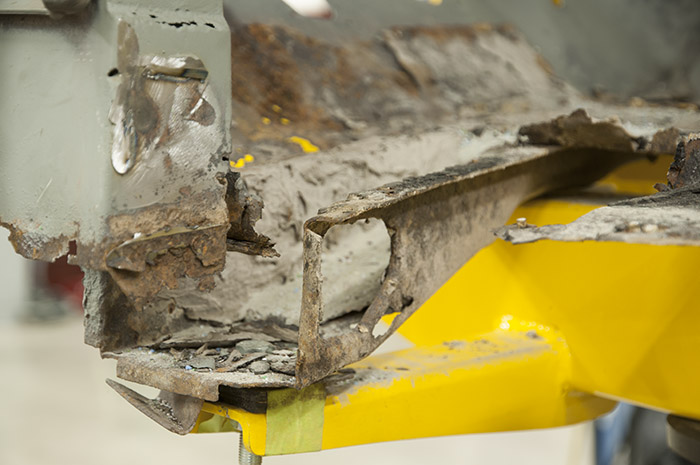
Some of the areas had to get special attention with hand-fabricated patch panels, because aftermarket panels are not available. Such is the case with the front corner of the body, where the rocker panel meets the hinge post at the bottom of the cowl.

Gerry Burger is the photographer and writer in charge of the Street Rodder Road Tour articles, and stops by the shop often to get new pictures of the project. If the name seems familiar, Gerry is the guy who created “Rodder’s Digest” magazine back in the ’80s.

With the main areas of the floor pans removed, we can do the finish work on the floor pans and fit them to the body. We left the stock transmission tunnel for a reference point, but it will ultimately be replaced with a custom piece to clear the new transmission.

Using a metal brake, we can flange the floor pans, to make for super strong mounting surfaces for the trans tunnel.

After a couple hours of work, the passenger side floor pan is ready for installation. Let’s get that Millermatic 211 fired up!


